

How to Install a Basketball Hoop in a Driveway Step by Step

Install a driveway basketball hoop by checking setback, garage-door swing, car clearance, and buried utilities first. Then mark the base location, dig or prepare the footing, anchor and level the system, wait for the concrete to cure, and finish with height and stability checks. Bad placement can block vehicles, crack concrete, or leave the pole out of plumb.
What you need first
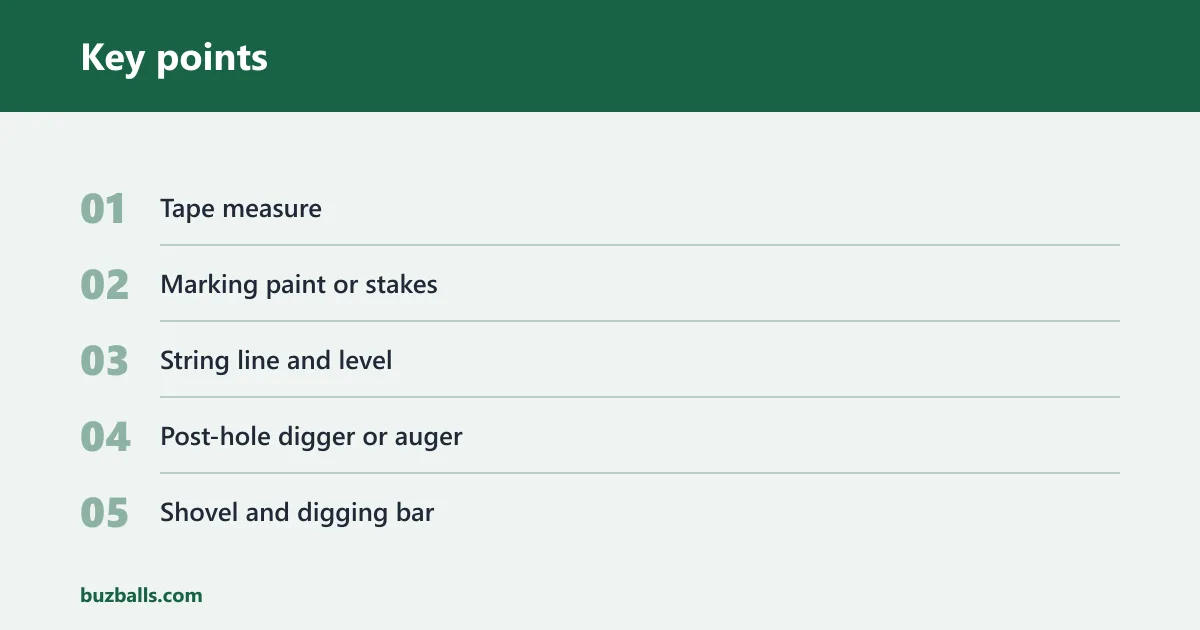
- Tape measure
- Marking paint or stakes
- String line and level
- Post-hole digger or auger
- Shovel and digging bar
- Concrete mix for the footing
- Rebar or the reinforcement specified by the hoop maker
- Anchor kit or pole base hardware for your model
- Wrenches and socket set
- Torx or hex tools listed in the assembly manual
- Safety glasses and gloves
Model-specific specs to confirm before digging
Check the manufacturer’s listing for hole diameter, anchor-bolt spacing, torque values, assembly order, and any reinforcement parts that ship with the system. Those details vary by model, and they matter before you pour or cut anything.
For a permanent driveway install, confirm whether your hoop requires a post anchor, a sleeve, or a direct-set base. Also confirm the cure time in the manual. Do not guess on that step.
Site checks for utilities, drainage, and slab condition
Call for utility marking before you dig. Then inspect drainage, slab edges, and driveway slope so water does not collect around the footing or push the pole out of plumb over time.
Check whether the driveway is poured concrete or asphalt, and look for cracking, heaving, or thin edges near the planned hole. A sound slab matters more than a clean-looking surface.
How do you choose the right hoop type?
Choose a portable hoop if you need to move it and want to skip digging. Choose an in-ground hoop if you want a fixed playing area and more stability. Portable systems are easier to roll aside. In-ground systems are commonly more stable and usually need more site work.
Portable hoop
A portable hoop can fit driveways that double as parking areas or shared access lanes. It works best when you need to roll the system aside. Walmart lists portable driveway hoops with adjustable height and 54-inch options, which fits smaller spaces that still need a usable rebound area.
In-ground hoop
An in-ground hoop suits homeowners who want a fixed setup and can commit to footing work. It is the better choice when vehicle traffic is predictable and you can keep the pole, overhang, and parked-car path separate.
Stability versus moveability
Think about what matters more on most days. Stability favors an anchored system. Moveability favors a portable base. If you park in the same driveway every day, a permanent hoop usually makes layout easier. If the driveway must stay open, portable is the safer call.
Driveway hoop decision table
| Driveway scenario | Hoop type | Backboard size | Footing depth | No-go risks |
|---|---|---|---|---|
| One-car driveway | In-ground if parking is separate; portable if the lane must stay open | 54 inch backboard | Use the hoop’s required depth and local frost line | Pole blocks the garage door swing; backboard overhangs the sidewalk or street |
| Two-car driveway | In-ground for a fixed lane edge; portable for shared parking | 60 inch backboard | Use the hoop’s required depth and local frost line | Cars cannot pass the pole; the overhang cuts into parking space |
| Sloped driveway | Portable unless a contractor confirms a level footing area | Size to fit the flattest usable area | Match the system and soil; slope may require extra site prep | Base settles unevenly; pole leans after cure |
| Shared parking | Portable or a carefully placed in-ground system | 60 inch if space allows, smaller only if clearance is tight | Use the hoop’s required depth and local frost line | Hoop blocks a second car, delivery access, or a pedestrian path |
| Winter-climate install | In-ground only if the footing can be set below the local frost line | Match the available width and driveway flow | Below the local frost line, per local code and the system manual | Frost heave, cracked concrete, seasonal tilt |
What size backboard works best for a driveway basketball hoop?
Match backboard size to driveway width and the traffic you need to preserve. Larger boards feel more like a court, but they need more side room and more clear approach space.
Material tradeoffs
Tempered glass gives the best rebound feel. Acrylic is lighter. Polycarbonate handles impact better. If the driveway is busy or shared, polycarbonate can make sense. If the goal is the closest feel to a gym setup, tempered glass is the cleaner choice.
Say your driveway is one car wide and the pole sits near the garage edge. A 54-inch board may fit the lane without forcing parked cars toward the street. If the same driveway had a 72-inch board, the overhang would likely crowd the approach and create a door-swing problem.
How much space do I need in a driveway for a basketball hoop?
Plan for clear space in front of the hoop that matches the overhang, the play style, and who will use it. That space needs to stay open for shooting, dribbling, and walking past the lane without clipping a parked car or the pole. Also keep the backboard from overhanging a public sidewalk or street.
Check pole placement near the garage and traffic flow
Place the pole where it does not block the garage door, driver’s door, or the normal route into the driveway. The best spot is often the edge that leaves the main parking lane open and keeps the base away from tire tracks.
Picture a shared driveway where one car parks nose-in and another backs out every morning. The pole should not sit where mirrors, doors, or trunks need space. If that route crosses the hoop area, move the location or switch to a portable system.
How do you install a driveway basketball hoop step by step?
Start with layout, then dig or prepare the footing, set the anchor or pole base, pour and level the concrete, wait for full cure, and assemble the hoop only after the footing reaches the manufacturer’s standard. Skip any shortcut that lets the base shift while the concrete is still green.
1. Mark the base location and overhang
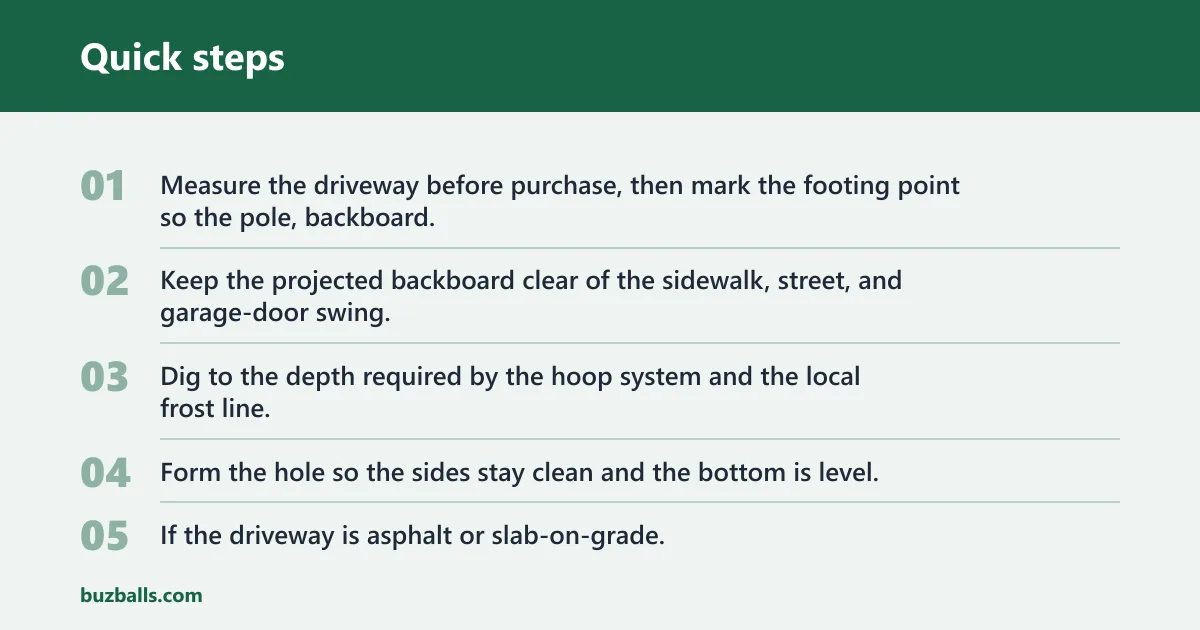
Measure the driveway before purchase, then mark the footing point so the pole, backboard, and parked-car path all fit. Keep the projected backboard clear of the sidewalk, street, and garage-door swing.
2. Dig or prepare the footing area
Dig to the depth required by the hoop system and the local frost line. Form the hole so the sides stay clean and the bottom is level. If the driveway is asphalt or slab-on-grade, verify whether the base can be set without cutting the surface or whether a contractor should handle the opening.
3. Set the anchor or pole base
Place the anchor or sleeve as the manual shows. Brace the anchor template so it stays square and oriented correctly while you work. Use the bolt spacing, orientation, and reinforcement the maker specifies. If the anchor sits off-center now, the pole will carry that error for the life of the install.
4. Pour and level concrete
Fill the footing with the specified concrete mix and level the top of the anchor as you go. Use a straightedge and a level to keep the base plumb. The actual footing design still depends on the hoop system and site conditions.
5. Let the footing cure fully
Wait for the manufacturer’s full cure time before tightening the final hardware or hanging the backboard. Do not load the system early.
6. Assemble the hoop after cure
After curing, attach the pole sections, backboard, rim, and braces in the order listed by the manufacturer. Tighten hardware to the listed torque values, then recheck level and plumb after the first full round of tightening. Finish with a final torque check once the assembly is fully seated.
If the setup uses adjustable height, lock the height after final assembly and test the lowest and highest positions. A common first-timer mistake is to finish the concrete, then rush the assembly before the base has fully stabilized.
How deep should the footing be?
Footing depth should match the hoop system, the soil, and the local frost line. There is no safe universal depth for every driveway. The right number comes from the manufacturer’s instructions and the local conditions where the base will sit.
Match depth to the hoop system
Different anchors and sleeves need different hole depths and diameters. Use the manual rather than a generic rule, because the base hardware determines how much concrete support the pole needs.
Account for local frost line
In winter climates, the footing has to stay below the frost line or the base can move as the ground freezes and thaws. That risk is one of the main reasons driveway installs fail after the first cold season.
Follow the manufacturer’s anchor and reinforcement instructions
Use the reinforcement the maker calls for, whether that is rebar, a cage, or a specific anchor pattern. If the manual calls for a contractor-led install, treat that as part of the system, not an optional add-on.
If the footing feels too close to a slab edge, stop and check the layout again. Moving the hole a few inches now is easier than repairing cracked concrete later.
Common mistakes to avoid
- Blocking a car door or garage path: Recheck the swing path with a parked vehicle in place.
- Ignoring slope or drainage: Choose a level base area or a different hoop type if water runs through the spot.
- Using the wrong backboard size: Match the board to driveway width and traffic flow.
- Treating cure time as universal: Follow the model’s cure time, not a generic guess.
- Skipping final stability checks: Tighten hardware, confirm plumb, and verify that the hoop does not drift under light pressure.
Common first-timer mistake: a driveway that looks wide enough on paper, but the pole ends up close enough to the garage that a driver has to angle in awkwardly. The fix is to remeasure the full driving path, not just the open concrete width.
What should I check before buying a hoop for a driveway?
Before you buy, check driveway width, parking flow, slope, slab condition, and whether the backboard can stay clear of the sidewalk or street. Then compare hoop type, backboard size, and anchoring method against that layout. The right purchase is the one that fits the site without forcing a bad install.
Also confirm the manufacturer’s details for hole diameter, reinforcement, anchor spacing, and final torque. If those specs are missing from the listing, look at the manual before you commit. Do not buy on size alone.
Frequently asked questions
How do you install a basketball hoop in a driveway step by step?
Measure the driveway, confirm utilities, mark the base, dig to the system’s required depth, set the anchor, pour and level the concrete, wait for full cure, and then assemble the hoop. Keep the backboard clear of the sidewalk and street throughout the layout.
Do I need concrete for a driveway basketball hoop?
Use concrete for a permanent in-ground install. Portable hoops do not need a footing, but they trade away stability. If the driveway is sloped or shared, a portable system may be the cleaner fit unless a contractor confirms a proper anchored base.
How deep should a basketball hoop footing be in a driveway?
Use the depth the manufacturer specifies and make sure it covers the local frost line. There is no single safe depth for every driveway or climate. The footing also has to fit the anchor hardware and reinforcement pattern for that model.
Should I choose a portable or in-ground hoop for my driveway?
Choose portable if you need to move it or share the driveway with parking. Choose in-ground if you want a fixed, more stable setup and have space to keep the pole out of the traffic lane. The best choice usually follows the parking pattern, not the price tag.
How long does concrete need to cure before assembling a hoop?
Use the cure time in the manufacturer’s instructions. Never assemble or load the hoop before the listed cure time ends.