
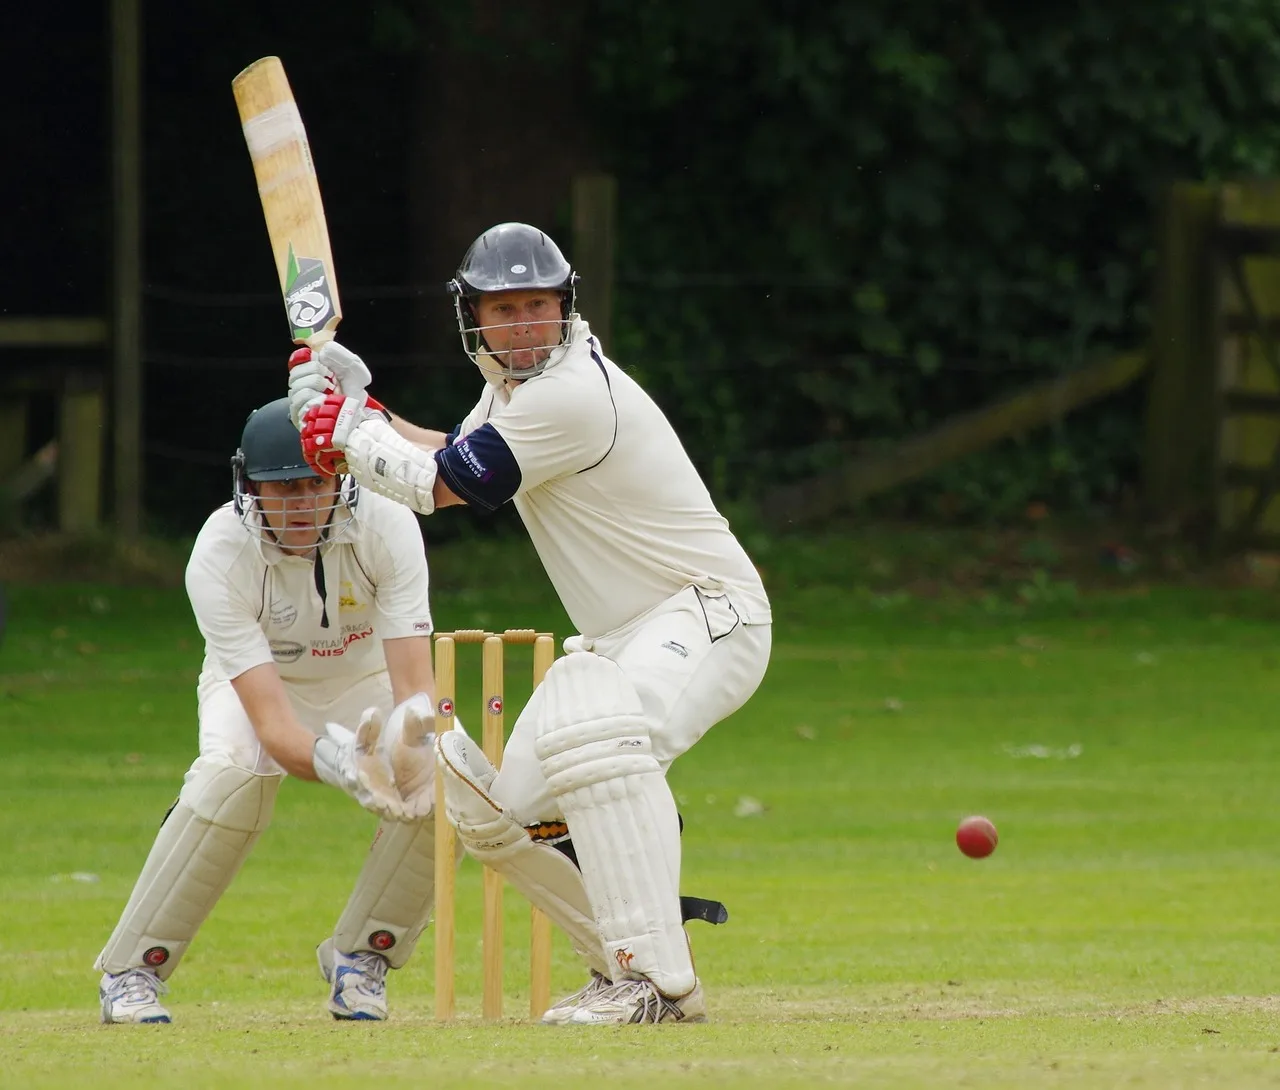
Best Way to Hold a Cricket Bat for Beginners

Beginners are often advised to use a relaxed orthodox V-grip. Set the V between thumb and forefinger in line with the bat spine, and angle the face toward the shot you want. Too much pressure pushes the ball off line, while a poor face angle makes every correction harder. Use the same grip check every time so you adjust direction without rebuilding your setup.
Why the orthodox grip is the safest start
The orthodox or conventional V-grip is the best default for most beginners. It keeps the bat neutral for shots on both sides of the wicket, gives the top hand control, and leaves the bottom hand free to support rather than steer. That balance makes it easier to repeat the same setup from ball to ball.
Start with the bat spine facing up, then turn both thumb-and-forefinger V-shapes downward so they line up with the spine on the back of the bat. That alignment matters because it sets the bat face square before you even move into the shot.
A slightly higher hand position on the handle may give a beginner better control and bat speed. A high grip can add power for vertical shots, while a lower grip tends to add control for horizontal shots. Most beginners should begin higher, then only lower the hands if the shot plan needs it.
What you’ll need
- A cricket bat with a clear spine on the back
- A safe practice space
- Light balls for controlled practice or a shadow-swing setup
- Optional batting gloves for grip feel
- Optional tape if the handle feels slippery
How do you place your top hand?
Set the top hand first, because it does the steering. The top hand sits on top of the handle, and its V should point along the bat spine. For most beginners, that hand should feel firmer than the bottom hand, but not clenched.
Then check the bat face before you move your stance. If the top hand is twisted, the face often opens or closes before the swing starts, which changes direction without any obvious change in body position.
Hold the bat in 4 steps
- Place the top hand high on the handle, near the upper part of the grip.
- Add the bottom hand just below it, with only one to two fingers of space between the hands.
- Turn both hands so the V-shapes point down the bat and line up with the spine.
- Check that the bat feels secure, the wrists stay relaxed, and the face points where you want the ball to go.
Say your bat keeps flashing toward midwicket on straight drives. If the bottom hand has turned too far under the handle, the face may be closing early. Reset the V-shapes against the spine, then rehearse three shadow swings before facing another ball.
Top hand versus bottom hand
The top hand is the steering hand. The bottom hand adds support and power, and it should stay more relaxed so it does not take over. If the bottom hand dominates, the bat often closes too quickly and the ball tends to work toward the leg side.
A stronger bottom hand can help leg-side hitting, but that change should be deliberate. For a beginner, keep the orthodox grip first and only shift toward a more closed face when you are choosing that shot shape on purpose.
How tight should the grip be?
The grip should feel secure, not locked. If the handle is crushed in the palms, the wrists stiffen and the bat face loses speed and adjustability. If the grip is too loose, the bat can twist at impact and contact gets less predictable.
A useful check is simple: hold the bat firmly enough that it will not shift in your hands during a shadow swing, but lightly enough that the wrists can hinge. If the forearms feel hard before the ball arrives, ease the pressure at once.
How much space should your hands have?
Keep the hands close together, usually about one to two fingers apart. That spacing helps the hands work as one unit, which improves bat-face control. A wider gap can make the top hand and bottom hand work against each other, especially on balls that move across the bat.
Hands too far apart also make the bat feel longer and slower to adjust. For a beginner, that often shows up as late contact, cramped defense, or a jabby push instead of a smooth shot.
Grip check worksheet
| Setup cue | Likely mistake | Ball-flight symptom |
|---|---|---|
| Knuckles white and forearms tense | Too-tight grip | Ball travels off line, often with a stiff jab |
| Bottom hand turns under the handle | Bottom-hand dominance | Shots go toward leg side and the face closes early |
| Thumb-and-forefinger V’s point away from the spine | Misaligned V-shapes | Edges, glances, or a face that opens at contact |
| Hands sit low near the knob | Hands too low on the handle | Less control, slower bat speed, weak lift on drives |
| Hands are separated by more than two fingers | Hands too far apart | Poor control and a bat that feels hard to steer |
| Bottom hand feels stronger than the top hand | Closed face grip | Leg-side bias and reduced off-side range |
| Wrist position leaves the blade pointing open | Open face grip | Ball starts wider off the bat or slips to the off side |
| Grip changes from shot to shot | Too much setup drift | Inconsistent contact and direction from ball to ball |
Common mistakes beginners should fix first
The first fix is usually the bottom hand. If that hand starts steering, the bat face closes too soon and the stroke loses range. Reset with the top hand in control, then check the V-shapes against the spine before the next ball.
The second fix is hand height. Starting too low on the handle can reduce control and make the bat feel heavy through the shot. Raise the grip a little and recheck the face. If needed, move the top hand up by about one finger’s width and test again.
The third fix is consistency. A common first-timer mistake is changing the grip every ball instead of checking one cue at a time. Keep the same stance, same hand spacing, and same bat-face angle for a full over of shadow swings before adjusting again.
Picture a 9-year-old at the crease with a bat held deep in both palms and the hands spread wide apart. The first couple of pushes go straight to the fielder at cover. Bringing the hands closer and moving the grip higher usually gives better control immediately.
If that didn’t work, try this next
First, return to the orthodox grip and recheck the spine alignment. Second, move the top hand slightly higher on the handle and keep the bottom hand relaxed. Third, rehearse three shadow swings with the bat face pointed where the ball should start. If direction still drifts, shorten the backlift rather than changing the grip again.
Prevention: before each ball, run the same quick sequence: top hand, bottom hand, V’s on the spine, close spacing, relaxed pressure, then bat face to target. That repeatable check keeps direction errors from turning into a new grip every delivery.
How do you hold a cricket bat correctly?
You hold it correctly by putting the top hand on top, the bottom hand underneath, and the V-shapes of both hands in line with the bat spine. The grip should feel secure but relaxed, with the hands close together. That setup gives you the most neutral starting point for straight and angled shots.
How do you bat properly in cricket?
Bat properly by linking grip, stance, backlift, and bat-face angle into one routine. A stable grip starts the face in the right place, a balanced stance keeps the head over the ball, and a controlled backlift lets the bat return squarely at contact. If one part changes, shot direction often changes too.
How do you bat in cricket for kids?
For kids, keep the check sequence shorter: top hand first, bottom hand second, V’s on the spine, and hands close together. Use soft balls and one shot shape at a time. If the bat feels hard to control, raise the grip slightly and reduce the size of the backlift before adding more power.
How do you hold a baseball bat correctly?
A baseball bat is held differently, so do not copy cricket grip details across directly. In cricket, the top hand leads the shot and the bat face matters from the start. For baseball, grip guidance depends on the bat and swing style, so use sport-specific coaching rather than mixing the two.
